Key Tips from Our Webinar: Going Digital for Job Folders
Paper job folders get lost, go stale, and only exist in one place. Systemize already keeps every drawing, slab photo, and contract on the job, and our latest file management update makes that digital job folder faster to fill, easier to sort, and simpler to hand off to your crews.
In our recent webinar, Going Digital for Job Folders, Amelia from the Moraware support team walked through what changed and how to put it to work. Here are the best tips from that session, from uploading files to printing activity packets for templaters and installers.
Quick look at what’s new:
- Upload multiple files at once
- Group files by file type or phase
- Filter the file list by phase
- Sort by any column header
- Flip through files in a new gallery view
Tip 1: Upload a whole batch of files in one go
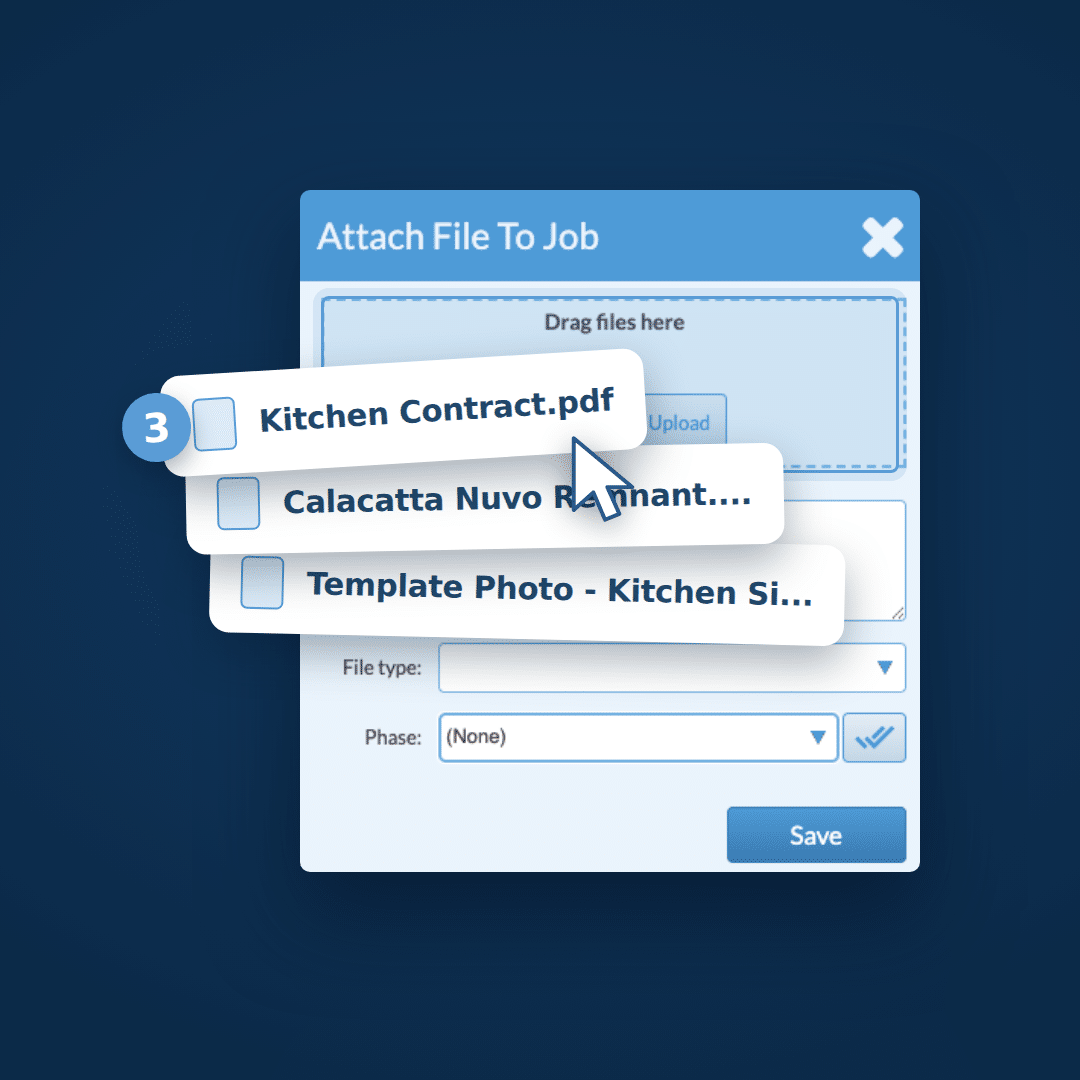
No more attaching slab photos one at a time. On any job, click the + in the Files section, then Choose File To Upload (or drag files in) and select as many as you need from your computer, tablet, or phone.
Before you hit upload, tag the whole batch at once:
- Description – for example, “Slab Images”
- File type – Customer drawing, Signed contract, Slab image, and so on
- Phase – Upstairs, Kitchen, Master Bath

Pro tip: The description applies to every file in the batch. If each file needs its own description, leave it blank and edit individual files after they upload. File type and phase are the fields worth filling in every time, since they power sorting and packets later.
Tip 2: Group, filter, and sort to find the right file fast
A busy job can collect dozens of files. Use the Group By dropdown next to Files to organize them into sections by File type, Phase, or any list-of-values file field you’ve set up.

Already using file types? Systemize picks them up automatically, so grouping works on day one.
To narrow things further, use Filter Phases at the top of the job. Your grouping stays in place, so you can see only the Upstairs slab images and pre-install photos, for example.

Pro tip: Click any column header (Name, Phase, File type, Size, Date) to sort. The sort resets to file name when you leave the job, so it never surprises the next person.
Tip 3: Review files in gallery view
Next to the familiar download and view icons on each file, there’s a new gallery icon. Click it to open files full-screen and use the arrows to flip through them, no more opening a new tab for every photo.

Pro tip: Gallery view is the quickest way to check slab photos with a customer or confirm the right drawing is on the job before templating.
Tip 4: Set up file fields that match how your shop works
File fields are the labels behind grouping and packets. If you’re not using a File type field yet, this is the step to start with.
- Go to Settings > Job > File Fields.
- Click Create.
- Name the field and set Data Type to List of values.
- Enter one value per line, then click Save.
- Refresh any open job and the new field is ready to use

Any list-of-values field you add can be used to group files on the job and to filter what goes into an activity packet.
Pro tip: Keep the list short and consistent. Common file types include Customer drawing, Signed contract, Slab image, Shop drawing, CAD file, and Pre/Post-install pictures.
Tip 5: Use file fields to control who sees what in a packet
Activity packets pull together everything a crew needs for one activity: a job summary, activity details, CounterGo quote and order forms, and attached files. File fields decide which files make the cut.
Your templaters might need customer drawings and slab images, while installers need shop drawings and pre-install photos. Neither needs the signed contract, especially if the packet gets printed and left with a customer.
To set it up:
- Go to Settings > Job > Activity Packets and open a packet (for example, Template Packet).
- Open a file item, such as Job / Lead Image File.
- Filter by File type (or any file field) and file extension, so only the right files are included.
Pro tip: Anything left out of the filter, like Signed contract, simply stays out of the packet. No more pulling pages before you hand a packet over.

Pro tip: Anything left out of the filter, like Signed contract, simply stays out of the packet. No more pulling pages before you hand a packet over.
Tip 6: Build your packet, then print it from the job or the calendar
Packets are perfect for templaters, installers, and anyone else who needs job info but doesn’t log in to Systemize.
Add what each crew needs. In the packet, click + to add items, such as a printable job header, an activity details form, CounterGo quote/order forms, and file items. Choose the activity type each item prints with (for example, Template). Change the Sequence number to reorder pages.

Print from a single job. Open the activity on the job, click the printer icon, choose your packet, and print. You’ll get one PDF with the job summary, activity details, CounterGo forms, and only the files you selected.

Print a whole day from the calendar. On the calendar, click the print icon, pick a date (tomorrow’s jobs at the end of the day works well), choose the packet and activity type, and click Print. Systemize creates packets for every matching activity that day.

Want help setting it up?
This update came straight from customer feedback, and our support team is happy to help you get the most out of it.
- Book a free one-on-one. Every Systemize customer can schedule a call with support to set up packets, forms, or file fields for your shop. Click Help in Systemize and choose Schedule a call.
- Call or email us. Phones are answered 8:00 AM to 4:00 PM Pacific.
- Search the knowledge base. Also under Help, with step-by-step articles on forms, packets, and more.
- Watch past webinars. Find this session and our deeper dive on activity packets at moraware.com/events.
Look for the New Feature: Attached File Updates banner in the lower left of Systemize and click Learn More for a quick What’s New video. |